


Electric ball valves are widely used in various industrial and residential applications for fluid control. Correct wiring is essential for safe and efficient operation. Below, we outline a step-by-step guide to wiring an electric ball valve.
Step 1: Understand the Components
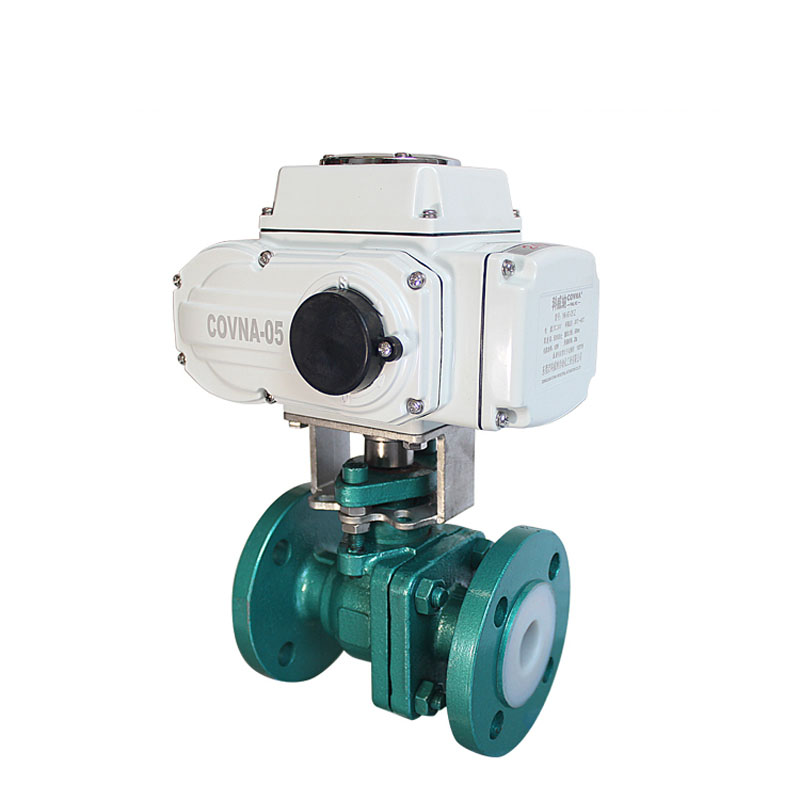
Before starting, familiarize yourself with the electric ball valve components. Key parts include:
- Actuator: The motorized part that controls the valve’s open/close functions.
- Power Supply: Typically operates at 12V, 24V, or 220V depending on the valve specifications.
- Control System: The input device that sends signals to open or close the valve (e.g., a switch or controller).
Step 2: Safety First
1. Disconnect Power: Ensure no power is supplied during installation to avoid electrical shock or short circuits.
2. Verify Voltage Compatibility: Check that your power source matches the valve’s voltage requirements.
3. Protective Gear: Wear insulated gloves and use appropriate tools.
Step 3: Prepare the Wiring
1. Check Wire Labels: Wires from the actuator are usually color-coded or labeled for easy identification.
- Common connections include positive (+), negative (-), and signal wires.
2. Use Proper Tools: Strip the wire ends to expose clean copper for connection. Avoid damaging the wires during preparation.
Step 4: Wiring the Valve
1. Connect Power Wires: Attach the positive and negative wires from the valve to the corresponding terminals of the power supply.
2. Attach Signal Wires: If the valve is controlled remotely, connect the signal wire to the designated terminal in the control system.
3. Secure Connections: Use cable ties or clamps to secure the wires, preventing accidental disconnection.
Step 5: Test the Connection
1. Restore Power: Once all wires are securely connected, turn the power supply back on.
2. Operate the Control System: Test the valve by sending open and close commands through the control system.
3. Check Operation: Verify that the valve responds correctly and ensure there are no unusual noises or overheating.
Troubleshooting Tips
- If the valve doesn’t work, recheck all connections for loose or incorrect wiring.
- Ensure the power supply voltage matches the actuator’s requirements.
- Inspect for damaged wires or faulty components.
By following these steps, you can successfully wire an electric ball valve, ensuring smooth operation and long-lasting performance.
If you need further assistance or guidance, feel free to reach out!
Post time: Apr-08-2025